When I first encountered the magical world of filmmaking and learned about different careers, I was convinced that the phenomenon of Foley only existed in blockbusters. In my mind, it needed huge budgets and a big production to hire professional artists whose sole responsibility was to recreate missing sounds. Nowadays, however, I know a different truth: every narrative short, image film, or even wedding video can be enhanced by this wonderful art of sound-making. Better yet, you can learn to do it yourself. Let’s talk about some tips for recording Foley at home!
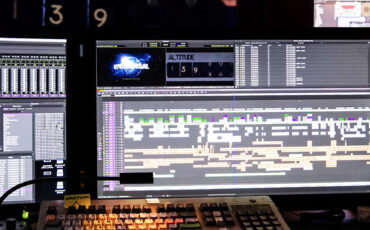
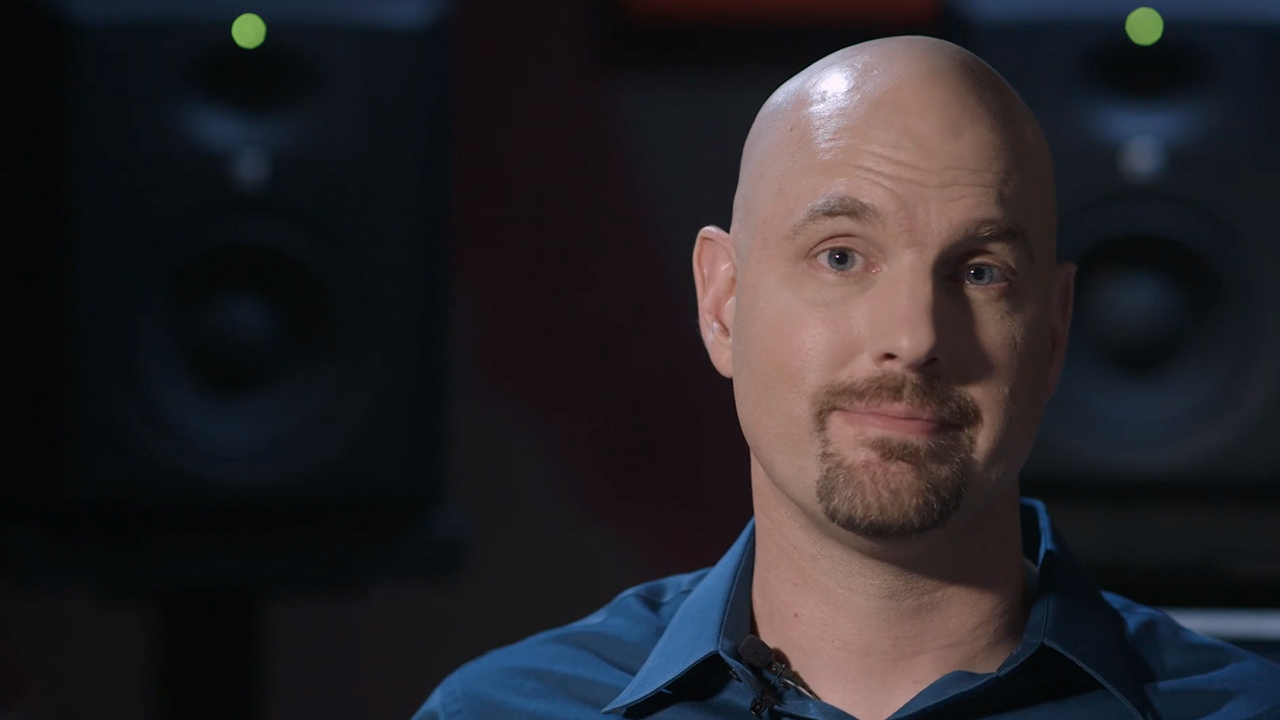
But first, a short introduction. Seasoned audio guru Mark Edward Lewis will become our guide for this advanced post-production process. In his extensive 80+ hour MZed-course “Cinema Sound”, he talks about every aspect of sound that you’ll ever need to know as a filmmaker. One of his lessons is dedicated to recording Foley and features a great variety of very precise tips and techniques. Condensing Mark’s extensive knowledge into a brief article seems nearly impossible, but we can provide a glimpse of insights and learnings from the course.
If you want to watch the entire lesson, head over here.
Recording Foley: basics
What is Foley? Named after its inventor Jack Donovan Foley, it is the reproduction of everyday sounds that are added to film, video, and other media in post-production and serve to enhance audio quality. In a perfect world, as Mark explains, you record footsteps, movement of clothing, or other natural sounds directly on set. However, oftentimes microphones don’t pick up these sounds, which is a problem. Why? Because it’s exactly these sounds that are essential for the overall immersion experience that lets the audience believe what they see. So, audio professionals replicate the missing sounds in the studio, and it’s definitely a fun process.
Sometimes, you’re making sounds that have nothing to do at all with what’s supposed to be seen on camera. In fact, it’s almost always the case.
Mark Edward Lewis, a quote from his course
The nature of Foley is to trick the brain of the viewer. You don’t have to find the exact same shoes an actor wore in a specific scene. It’s more like creating audio magic, where you try to create a sound that feels believable in a given moment. So, don’t be afraid to experiment!
You may ask, why not use stock libraries? This is an option, but there are times when a custom sound precisely matching the scene’s action is necessary. Recording Foley can be easier than spending hours searching for the perfect sound online.
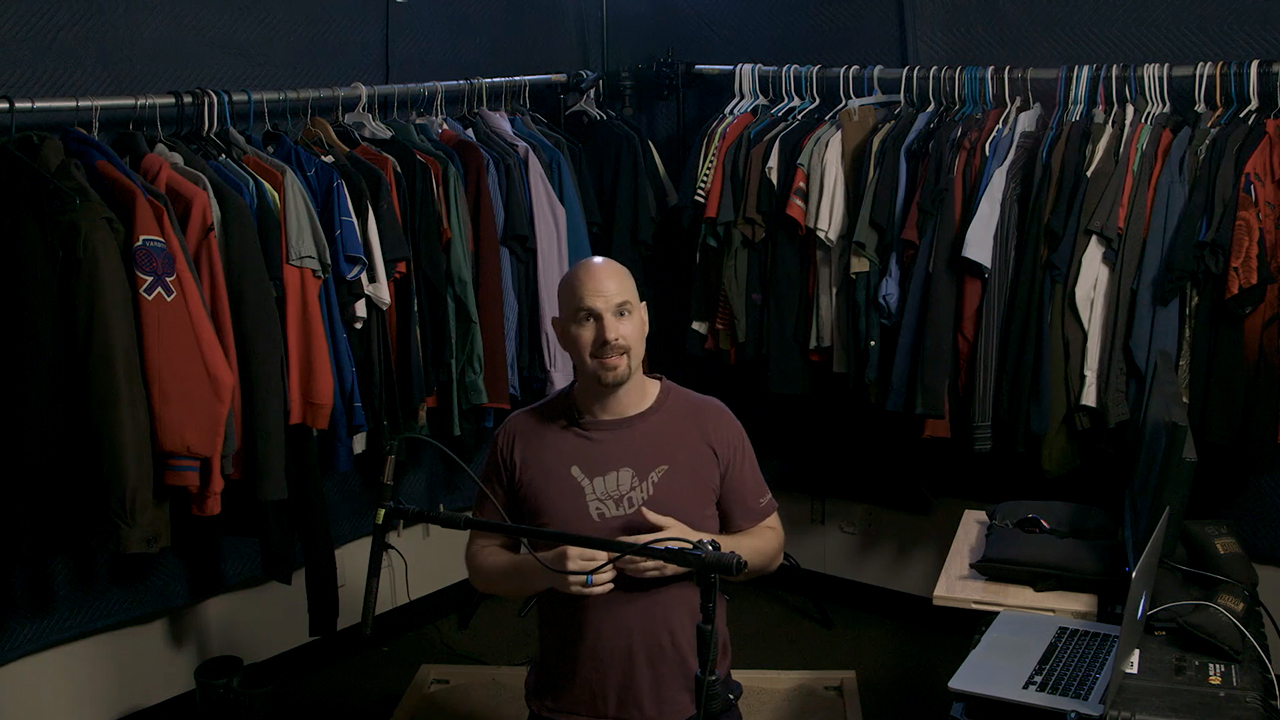
Turning your closet into a studio
If you’re a professional sound designer who has a studio set-up, then no doubt that would be the best place for recording Foley. If not, don’t worry, your walk-in closet will suffice. It’s quiet and most likely nobody will bother you there. As an added bonus, you can move the clothing around to change the timbre of the room.
To set up a closet Foley studio, you will need a monitor only for the images, a laptop to record the audio, a mic, and enough space for you to act. We could also position a Foley pit in case you need to record steps in the sand, for example. In professional studios, filmmakers usually sink these kinds of pits into the ground and have different surfaces as fixtures.
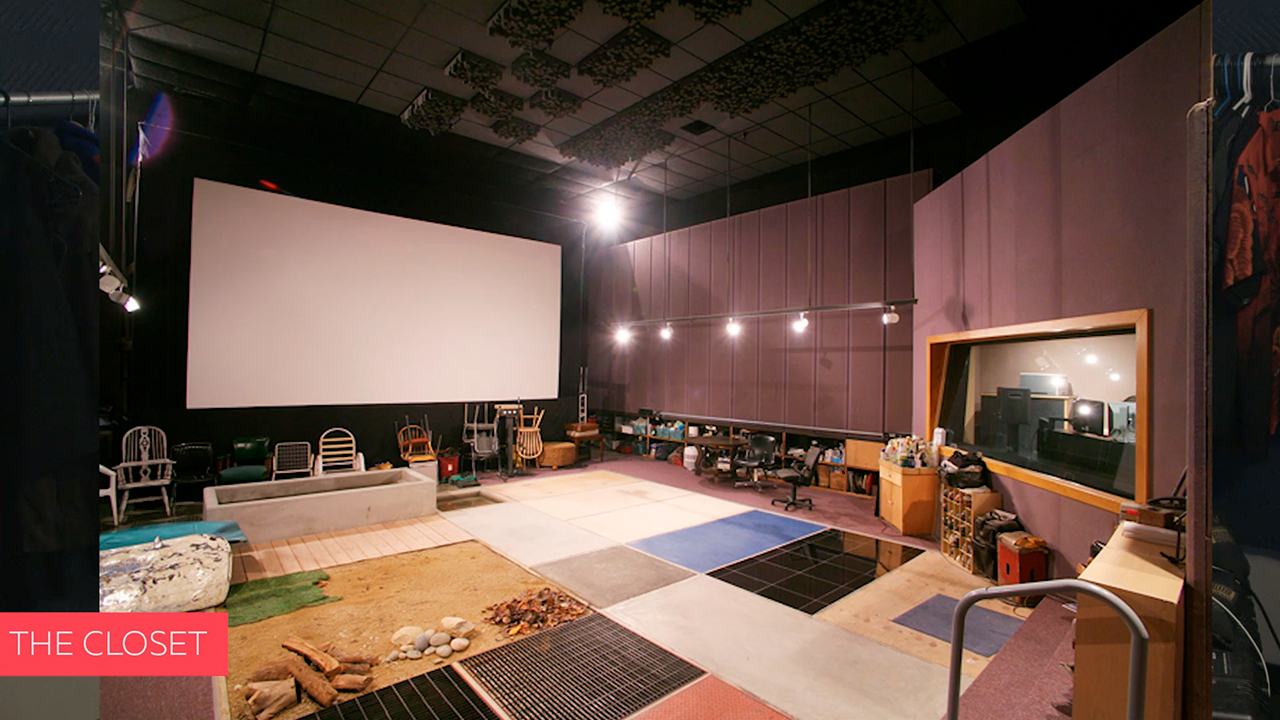
In the “home studio” scenario, Mark suggests building a Foley pit yourself. His go-to material is wood because it’s strong and doesn’t break easily. However, make sure your pit isn’t overly heavy, so you can easily carry it in and out of the closet. Another suggestion is to fill the pit at least 2/3, or preferably 3/4 full. Otherwise, you might capture the sound of the wood underneath or reflections from the pit walls in your Foley recording.
What to wear during the recording session
Okay, the closet is all set, but your outfit might also need a bit of consideration. What you wear to record Foley is important because your clothes should be quiet (except when the sound of a specific piece of clothing is what you are looking for). For example, Mark recommends staying away from jeans as they make an awful lot of noise while recording footsteps. Crispy shirts or stiff jackets are also a no-go. A tight-fitting, soft T-shirt and pants of the same quality are, on the contrary, a good choice. According to Mark, the general rule here is less clothing is better than more. In his course, he laughs: “Do it naked if you can, why not?” Not so sure it’s a joke, though.
Positioning the mic
As to the choice of microphone, you can take any that has a beautiful frequency response. In Mark Edward Lewis’s opinion, the best ones for recording Foley are condenser mics. Regardless of what you decide on, remember that every microphone, except omni mics, has a proximity effect, so its position is important.
However, there are no strict rules to follow – only your own intuition. Place the mic wherever you get the right sound, depending on what you need. After all, you are the one acting with the headphones on, listening for a particular Foley sound, so try out different angles and distances. For example, if you want to record a bag falling onto a sandy beach surface, it’s natural to position the mic very low.

In your final audio mix, Foley will be slightly louder than the ambiance track (which is usually extremely subtle, practically inaudible). However, it doesn’t mean we should record it low. Mark’s personal recommendation is to try getting in the dialog range (between -15 and -10 dB). There is nothing wrong with skin/clothing Foley at lower levels, as long as your noise floor is below 50 dB.
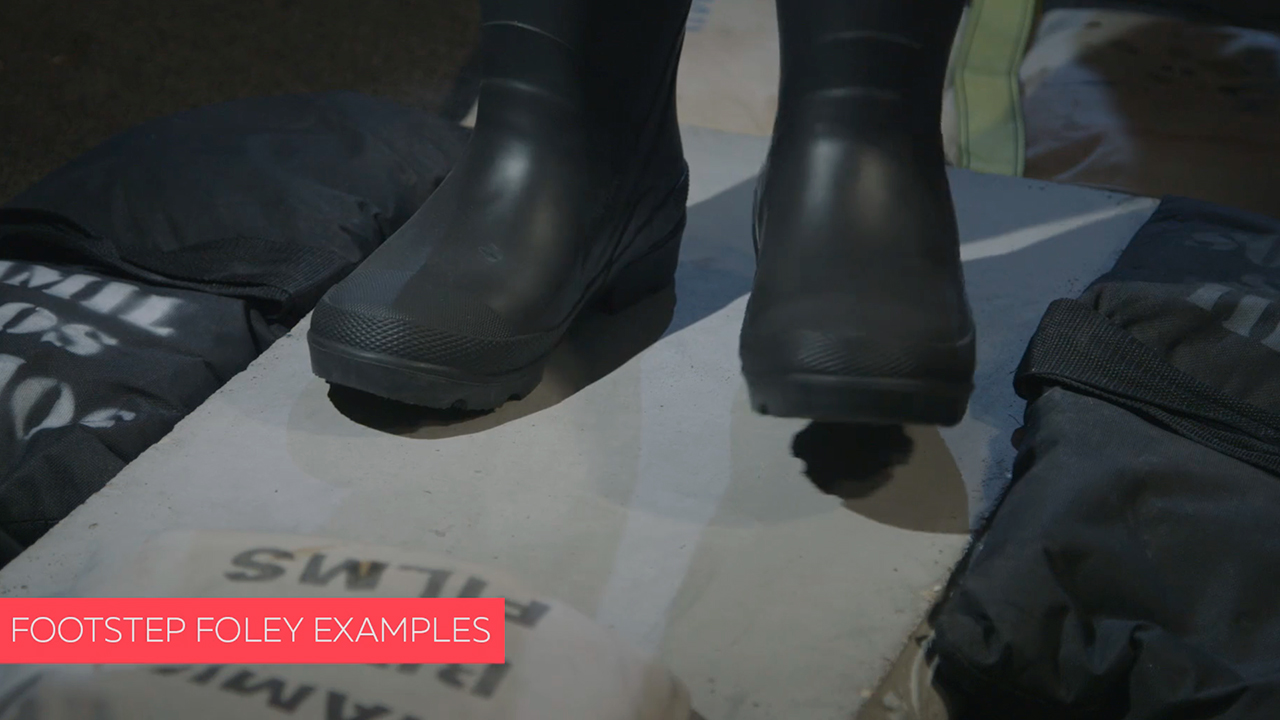
In recording Foley – details matter
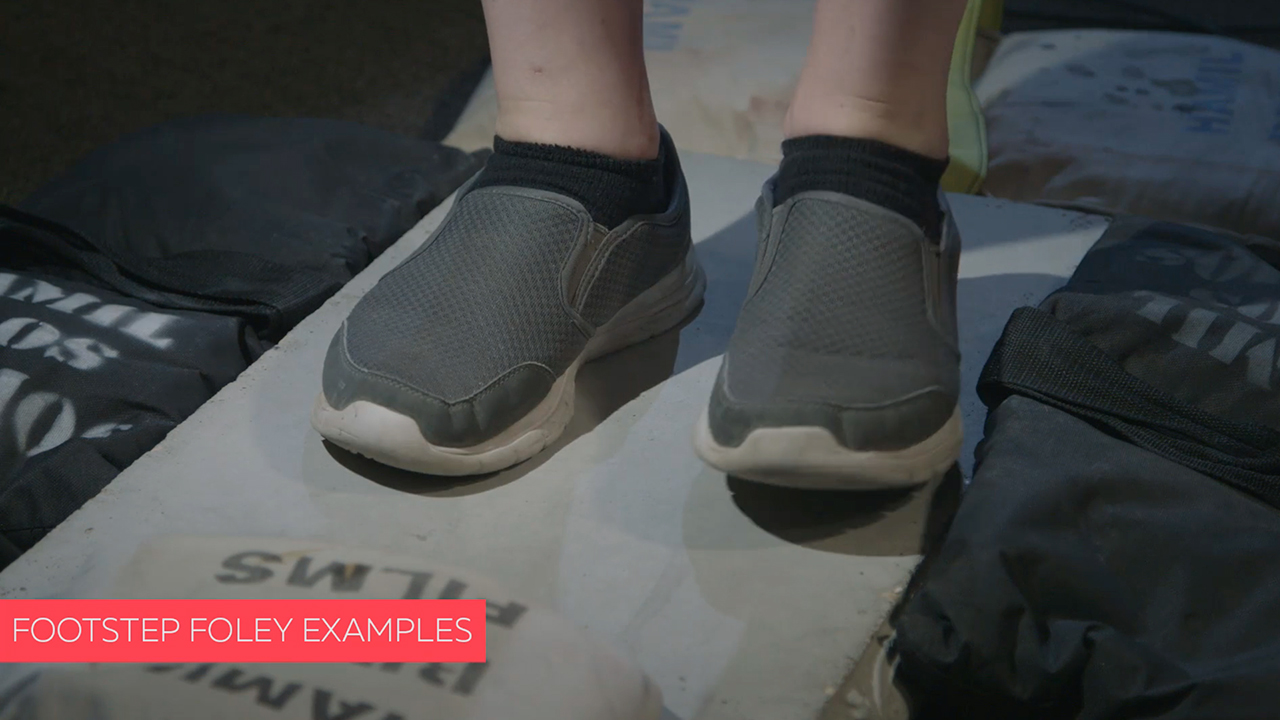
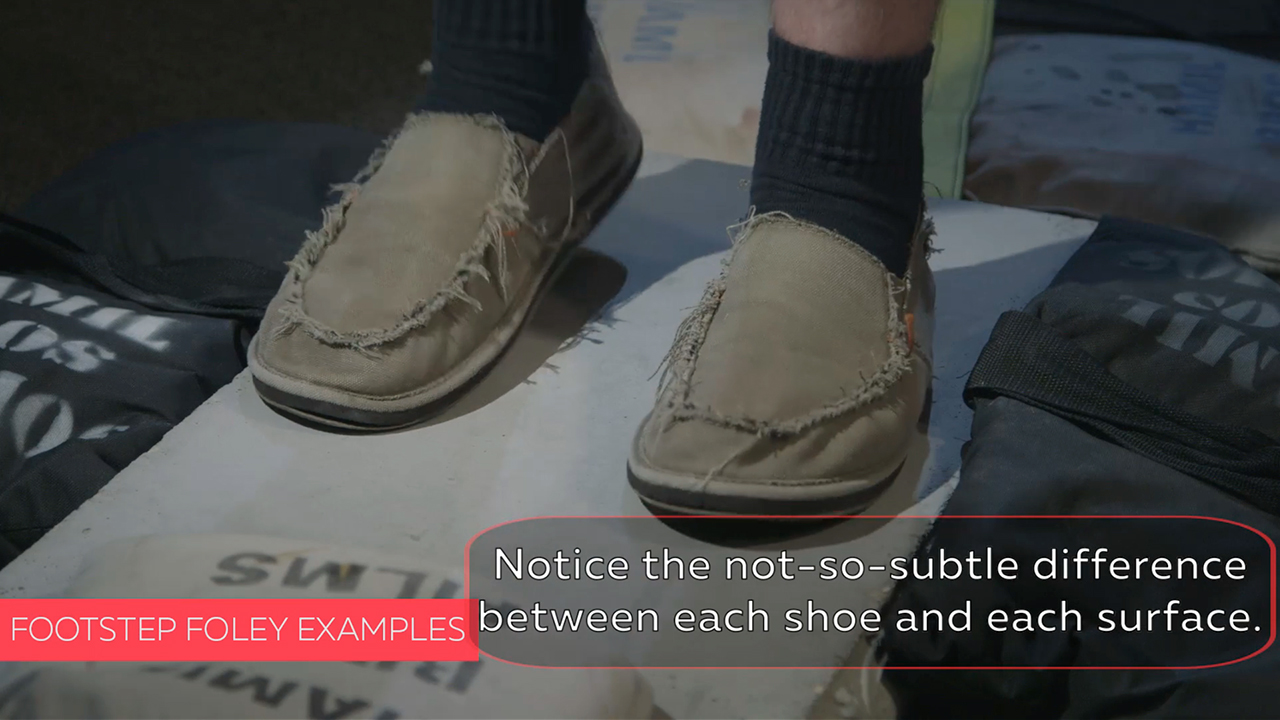
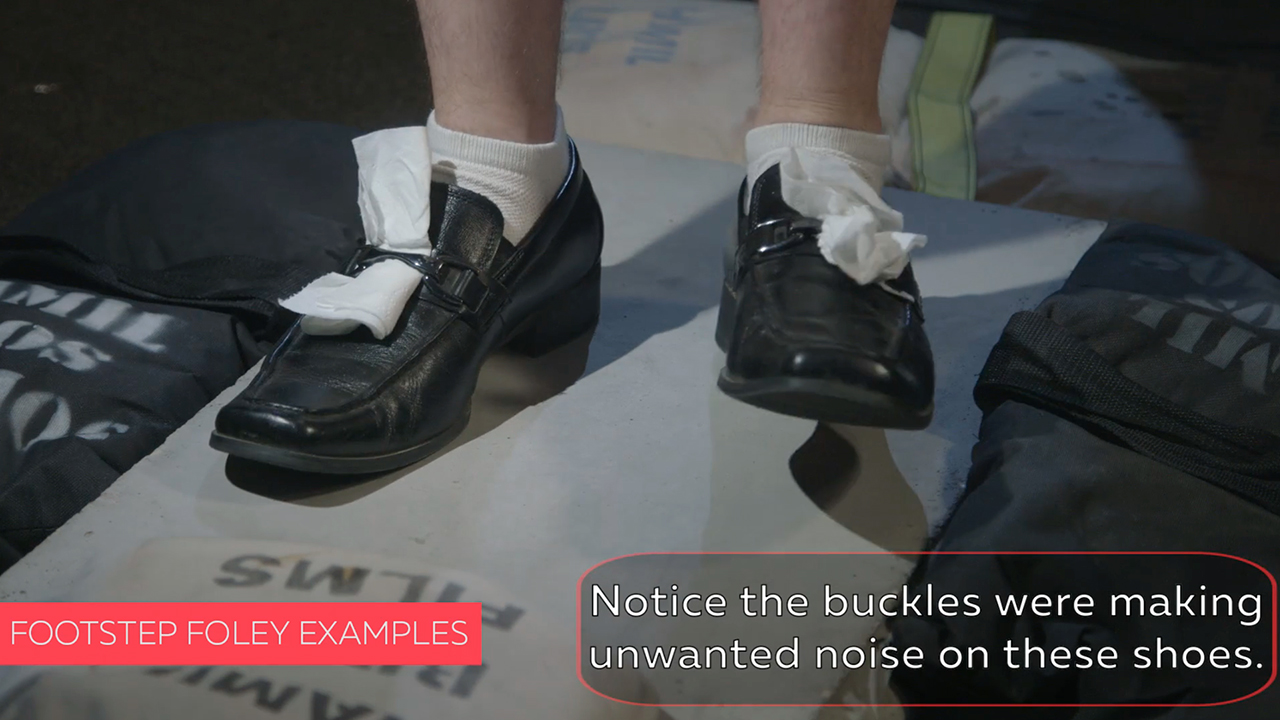
Experimenting with Foley in your closet, you will soon find out that details matter a lot. Different soles of different shoes will make completely different noises on different surfaces. Mark shows a couple of examples in his lessons, and although the range of sounds is non-transferable in still images, just take a look at them! I’m sure that with a little bit of imagination you can picture how distinct the recorded Foley segments will sound here:
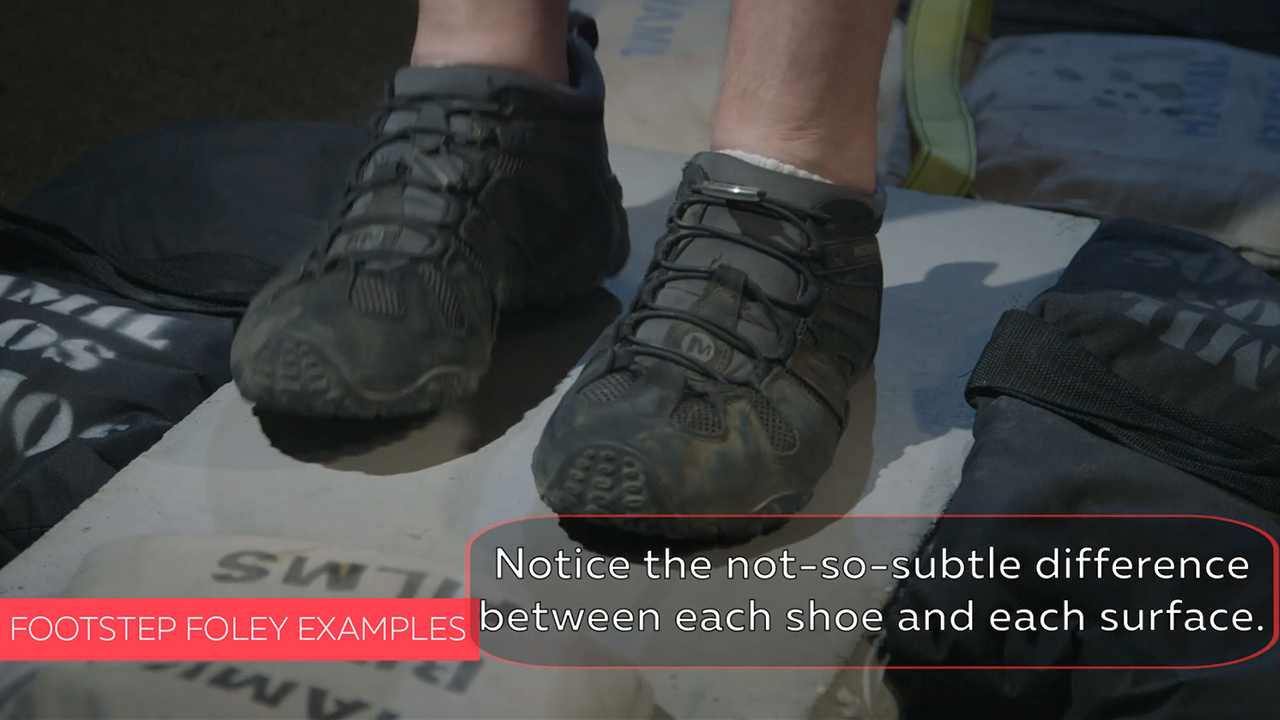
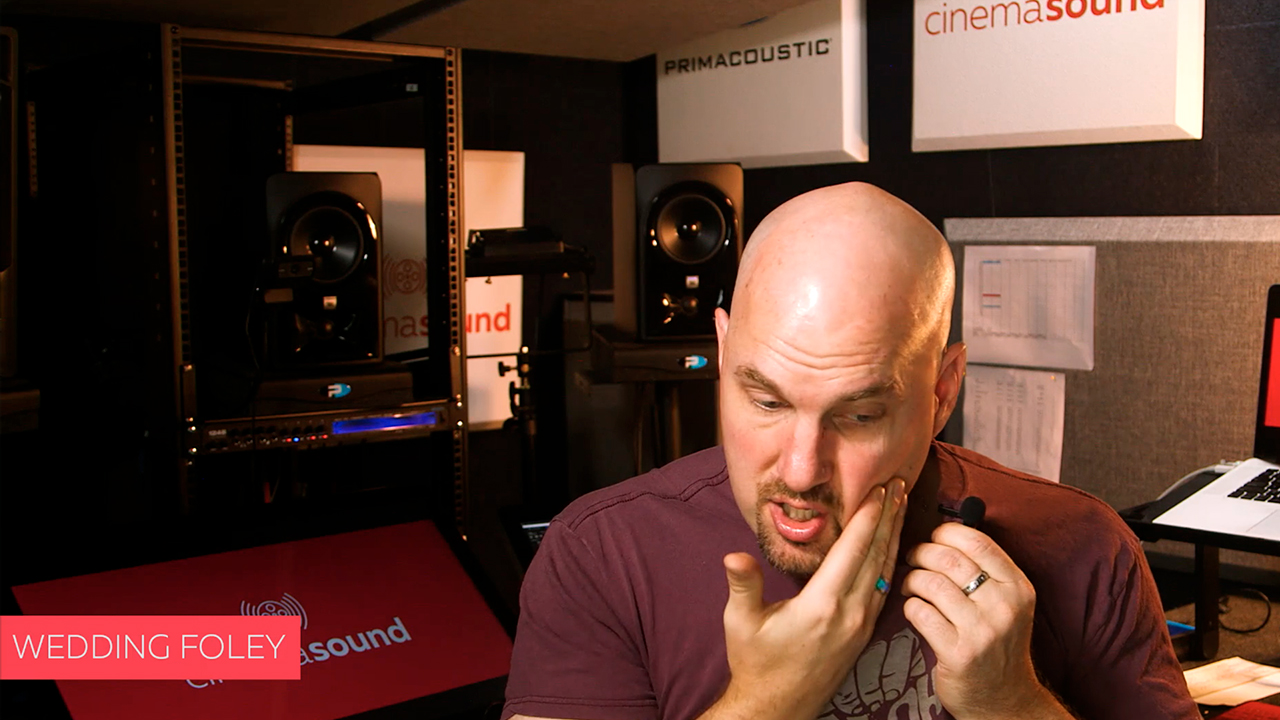
Another example would be recording Foley for a wedding film. Oftentimes (especially in TV productions) when a bride reaches for a groom and touches his face, we will hear the sound of skin on skin. However – and that’s a pet peeve of Mark’s – this sound usually reminds him more of an arm than a male chin, which has little hair particles even when shaved. So, be honest with your Foley and take care of the smallest details or the result will feel slightly off.
Ultimately, no one will say, “Your video sounds fantastic.” They’ll likely remark, “Your video LOOKS amazing.” This underscores your success in creating a deeply immersive and authentically enjoyable experience for the audience.
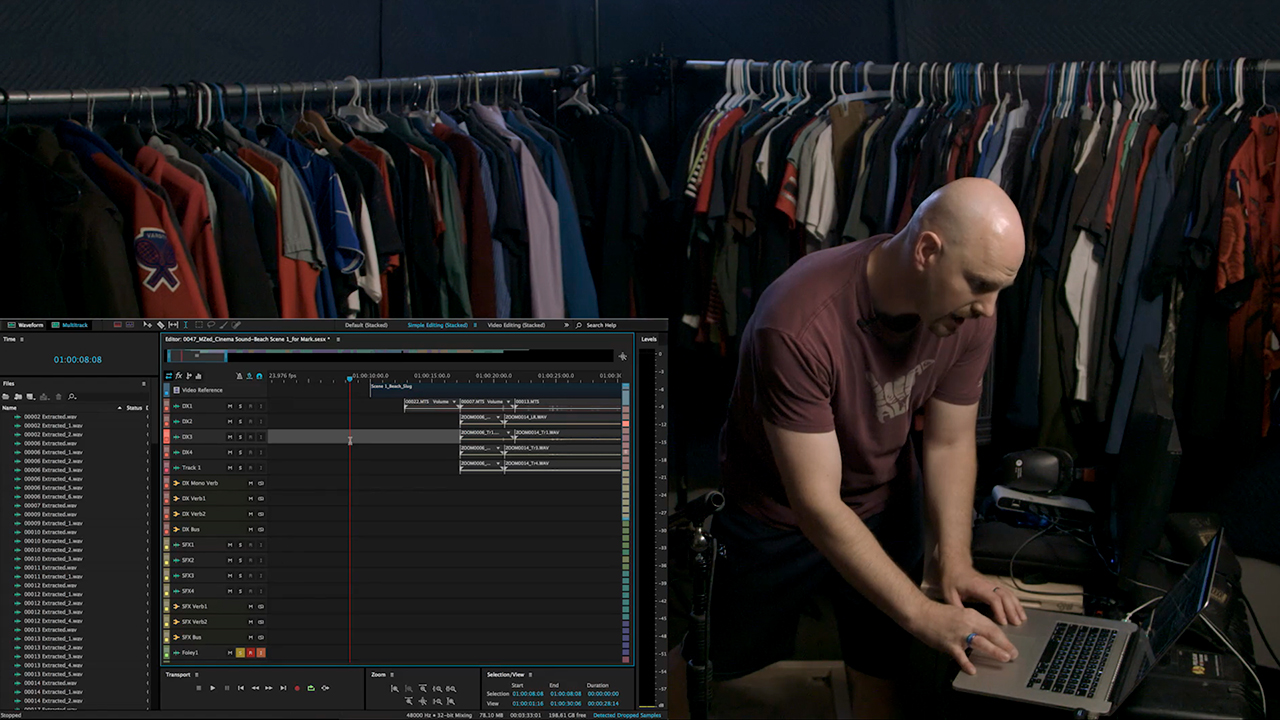
The process of recording
The best workflow for recording Foley is to pick a part of the scene, mark it in and out, and put it in a loop – meaning that each time the locator jumps to the beginning, a new track will be created and you can record the next take, preserving video and audio in sync. If your software doesn’t allow looping, Mark suggests doing it manually the same way. Record, stop, go back to the beginning, choose another track, and record again. It is indeed more tedious in production but saves you a lot of trouble in the post.
Don’t forget to give yourself 5 seconds at the beginning of the scene – a so-called pre-roll – so that you have time to position yourself by the microphone before jumping into the action.
The main goal is to get the timing of your Foley as close to the movement in the video as possible. Yet, if you’re consistently a couple of frames late, it’s also okay. There is always an option to shift the whole track to the left in editing. For Mark, that’s the fastest way to record moving clothing, for example.
Also, don’t forget to think logically. If your actor comes into view, we should still hear their steps before they appear. So, record them as well.
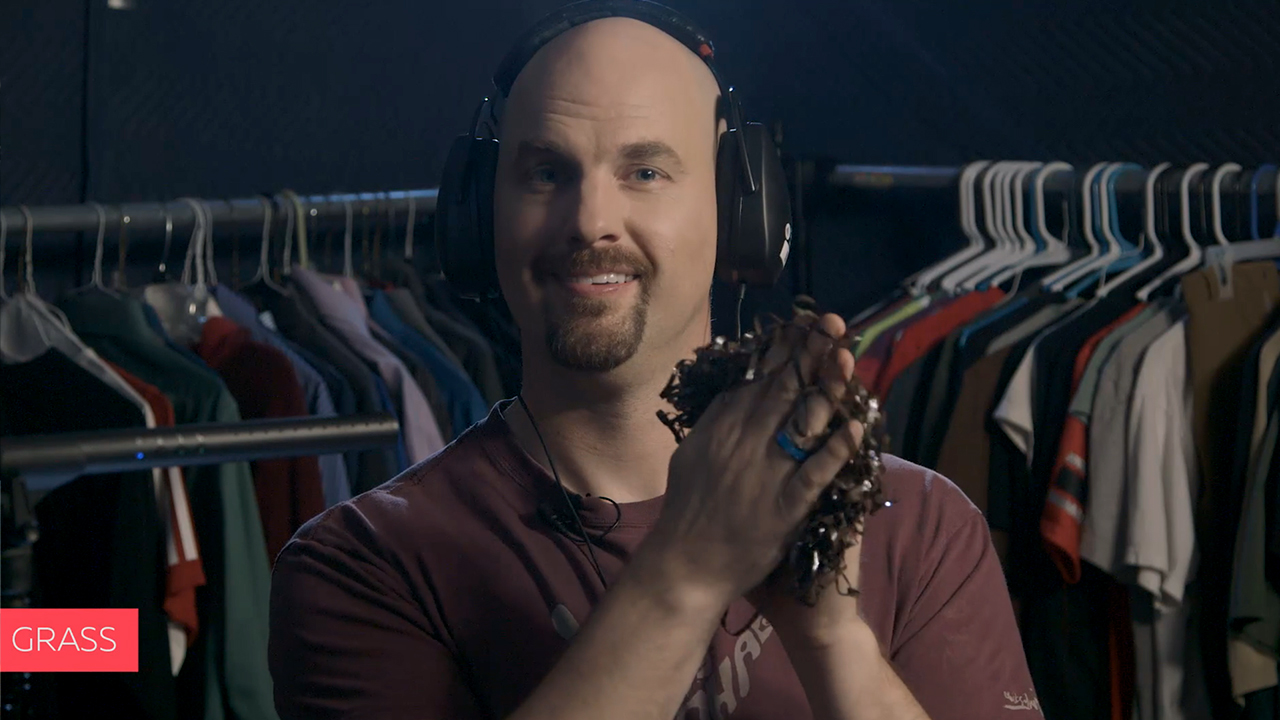
Cheating sounds
As mentioned in the beginning, Foley is all about cheating our brains. So, it doesn’t matter what you use in acting as long as it resembles the correct sound. To give you an example, Mark Edward Lewis takes an old cassette tape and claps it between his hands to simulate the steps on the grass.
You may have also heard that a pair of gloves sounds like flapping bird wings, a stick can make a wonderful whoosh sound and a thin metal plate is often used for thunder. There are countless tricks and unconventional solutions for recording Foley, which for me truly turns it into a magical art or the art of magic.
Conclusion
Recording Foley is not only a great way to enhance your videos but also pure fun. If you want to learn even more tricks on how to do it at home, we highly recommend our “Cinema Sound” course on MZed.com. Don’t be afraid to experiment, though! Foley is all about learning by doing, so, dear closet, here we come!
What else do you get with MZed Pro?
As an MZed Pro member, you have access to over 400 hours of filmmaking education. Plus, we’re constantly adding more courses (several in production right now).
For just $30/month (billed annually at $349), here’s what you’ll get:
- 50+ courses, over 750+ high-quality lessons, spanning over 400 hours of learning.
- Highly produced courses from educators who have decades of experience and awards, including a Pulitzer Prize and an Academy Award.
- Unlimited access to stream all content during the 12 months.
- Offline download and viewing with the MZed iOS app.
- Discounts to ARRI Academy online courses, exclusively on MZed.
- Most of our courses provide an industry-recognized certificate upon completion.
- Purchasing the courses outright would cost over $8,500.
- Course topics include cinematography, directing, lighting, cameras and lenses, producing, indie filmmaking, writing, editing, color grading, audio, time-lapse, pitch decks, and more.
- 7-day money-back guarantee if you decide it’s not for you.
Full disclosure: MZed is owned by CineD
What about your projects? Have you ever tried recording Foley yourself? What other tips come to your mind when you think about it?
Feature image source: Cinema Sound/MZed