Everyone has their dream shooting conditions. With preferred camera systems, lighting experts on set, extensive scene breakdowns, and perfectly-planned use of sun outdoors – this list can go on forever. Except, the reality is not always that poetic. Sometimes you don’t have the time, budget, or even the need for so much effort (when you film a daily YouTube vlog, for example). However, it shouldn’t stop you from creating an atmospheric video if you want to. In his MZed-course, Senior Editor Digby Hogan shares a few simple and quick tricks for achieving a cinematic look in Premiere Pro, regardless of your source footage quality. Let’s take a look at some of them together!
The course „Learn Everything in Premiere Pro” is a thorough guide on editing from scratch that includes more than 100 modules and is also suitable for those who are just starting out. Digby Hogan is a Co-Founder of the Empire Post, and he definitely knows a thing or two about telling stories through carefully assembled shots.
Digby is also aware that content creators often have a very tight schedule. That’s why the following methods work with just a few clicks, yet they can enhance the quality of your video tremendously. So, let’s imagine, you’re sitting in front of a created edit version, and it definitely needs some improvement in order to look cinematic.
Sleek and cinematic look in Premiere Pro: step one
The first suggestion by Digby Hogan when encountering slightly shaky and poorly shot footage is to apply the Warp Stabilizer effect to improve its stability. (Ignore this step if the handheld motion was on purpose and supports the storytelling). I know a lot of people who don’t really like this effect and its occasional weird artifacts, but in some cases, it can do wonders for your material, especially if the disturbing shake is not too strong, and your aperture wasn’t wide open (not like in the detail shot of the eye below). Definitely worth trying out!
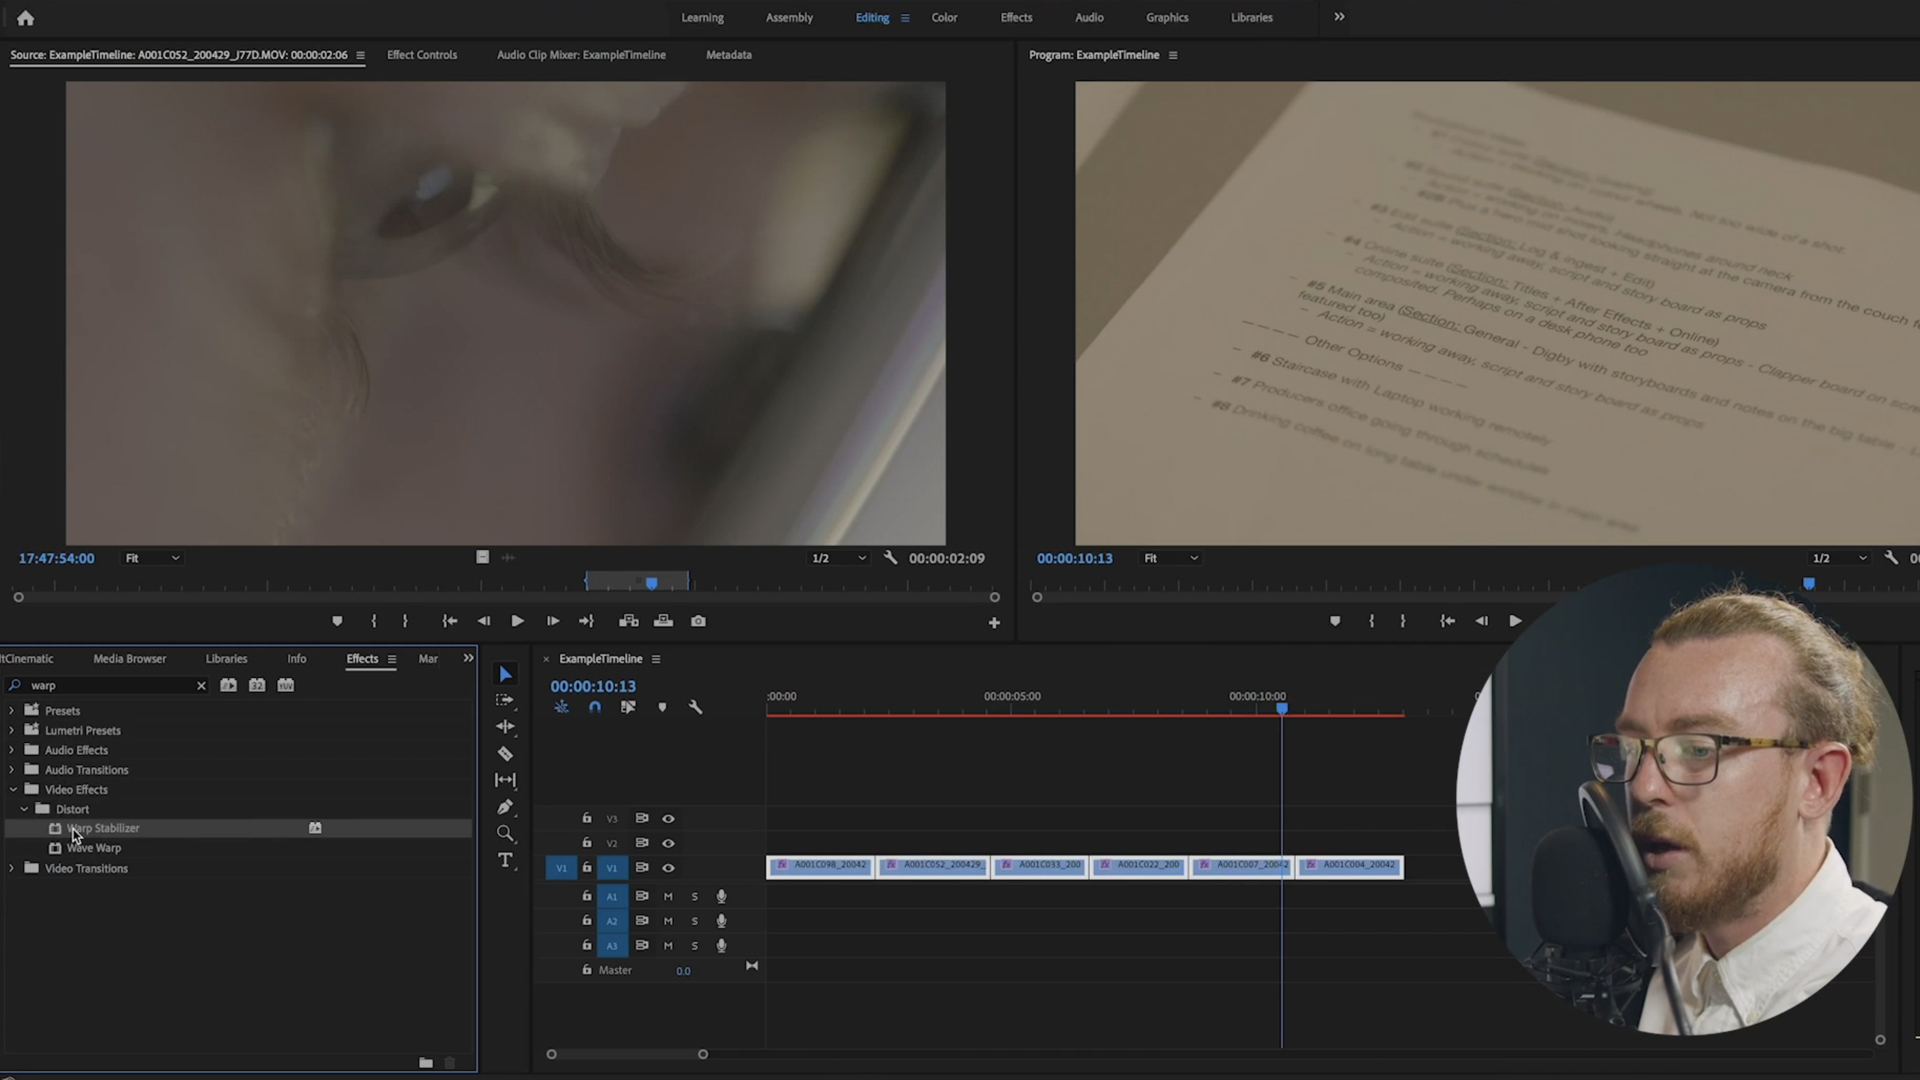
Once you locate Warp Stabilizer in the Effects panel and choose the shots to which you want to apply it, there are two options: you can either double-click on it or simply drag&drop it onto the timeline. It will need some time to analyze and adjust your footage, and according to Digby, it’s better to wait than to continue working on the sequence in the meantime. The latter will only stretch the process, so, patience is key. If a clip looks weird after this iteration, you can always go back and play with the effect settings. But as a general rule, it’s probably better to turn Warp Stabilizer off in such situations. Other than that, let’s hope that now your camera work appears smoother.
Aspect ratio matters
The next – and very impactful, in my opinion – way to add a cinematic feel to your video is to provide it with black bars on the top and the bottom of your frame. Why so? Of course, the aspect ratio is a great storytelling tool as well, and you should always choose it wisely. But at the same time, it has a historical background. With the expansion of cinema screens into larger and wider formats, the aspect ratio underwent adjustments. Eventually, we began associating the super widescreen format (ranging from 2.35:1 to 2.66:1) with our favorite film masterpieces, which we go to experience in theaters. On the other hand, something like the already traditional 16:9 feels more like content for TV or online purposes (and the original 4:3 is another story for a different time).
So, when you want some casual footage to look cinematic, you can use this quick and intuitive association with the frame size to your advantage. Luckily, in digital times, you don’t have to shoot strictly anamorphic for that effect and can apply classic cinema bars (or the so-called cinemascope letterbox) to any footage. The simplest way is to download the pre-made templates (usually PNG images with alpha channels) and place them above your sequence. The stock footage platform PremiumBeat has a collection of free ones here, for example.
However, if you are not eager to look for downloads and don’t care about the accuracy of the bars, you can build them yourself. Digby Hogan explains how in a few steps. First, create a new “Black video” in the Premiere Pro project and drag it over the clips.
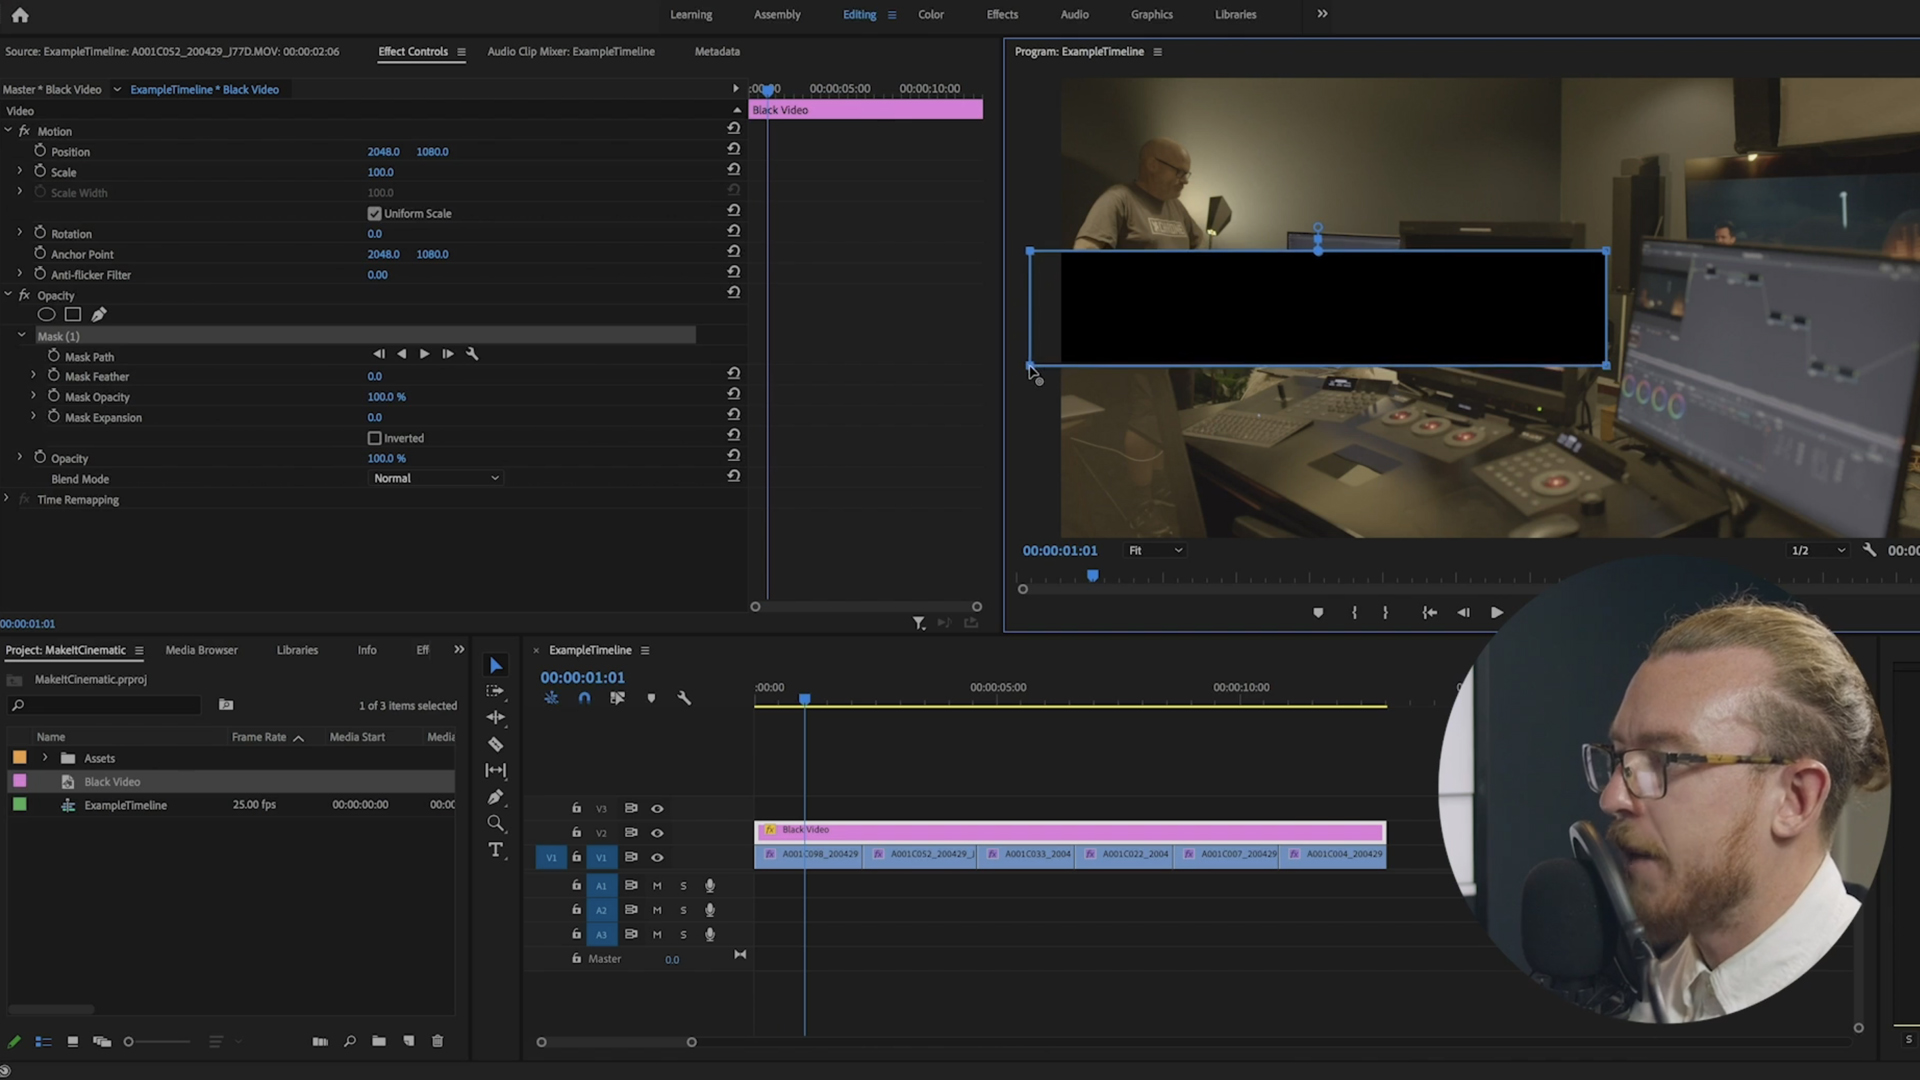
Next, enable a mask in the Opacity effect controls section, and take its feather down to zero. Afterward, you’re free to form a rectangle, which will become the inside area of your frame (right-click –> enable “Safe margins” can produce symmetrical guidelines for that). Check the box “Inverted” in your mask settings – and voilà! Simple cinema bars take their place on the screen. Don’t forget to look over and adjust the initial clips – they might need some reframing now.
Fast grading tricks for a cinematic look in Premiere Pro
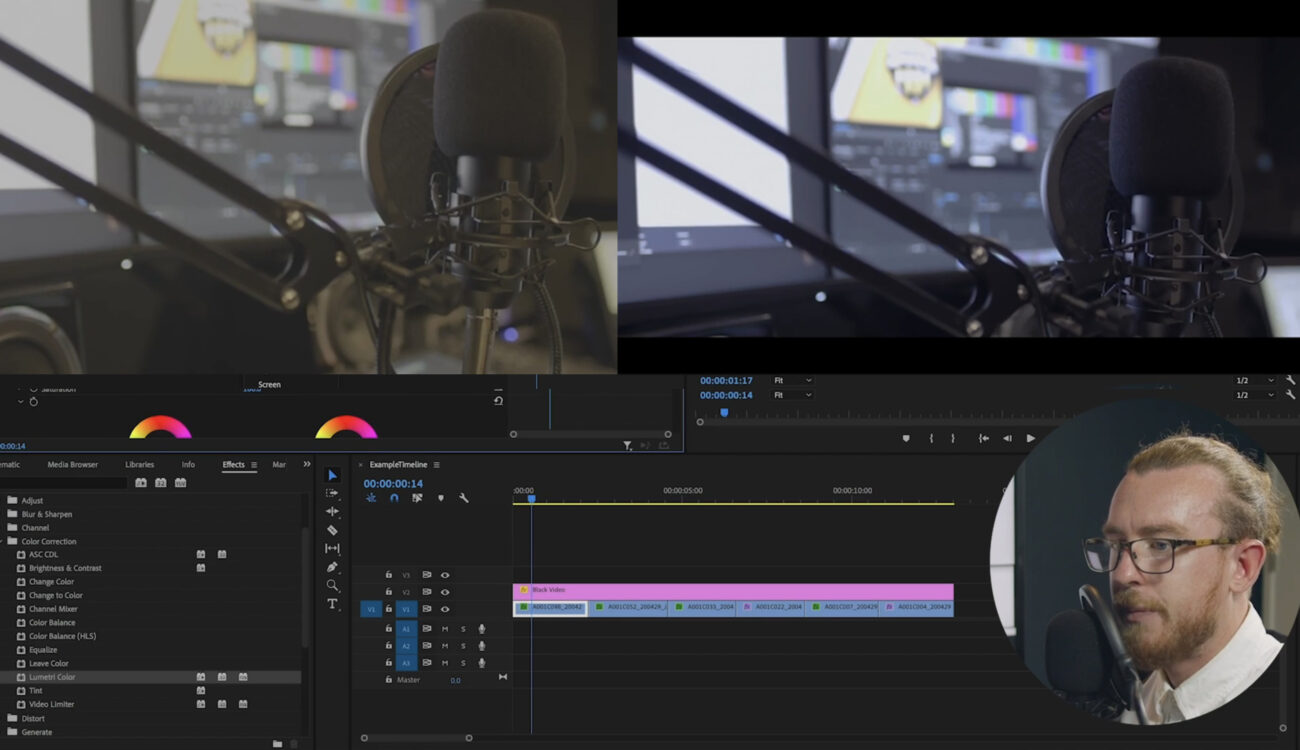
Naturally, color correction is a science of its own. Colors play a critically important role in filmmaking and communicate so much that we should never underestimate them. Regrettably, there are times when you may be unable to consult an expert or utilize dedicated color grading software for your project. Although Premiere Pro is not our first choice here, it’s okay for a bunch of fast tricks. Digby’s go-to is the Lumetri Color effect. It allows you to play with different color parameters, and following some basic rules, you can still achieve a nice result.

A cinematic look requires more contrast and less saturation than the source material in the example above. You would also want to adjust the shadow tint if the shot lighting feels too warm and yellowy. Adding a bit from the cold side of the spectrum will turn the image into what looks like a correctly white-balanced shot. Generally, bluish colors have a more obvious cinematic impact (you probably know about the blue & orange Hollywood cliché, but if we are speaking about quick tips and effects, cliches always come in handy). What I personally recommend is taking a film still as a reference, placing it side-by-side with your shot, and then playing with the settings to achieve a similar result.
What about some film grain?
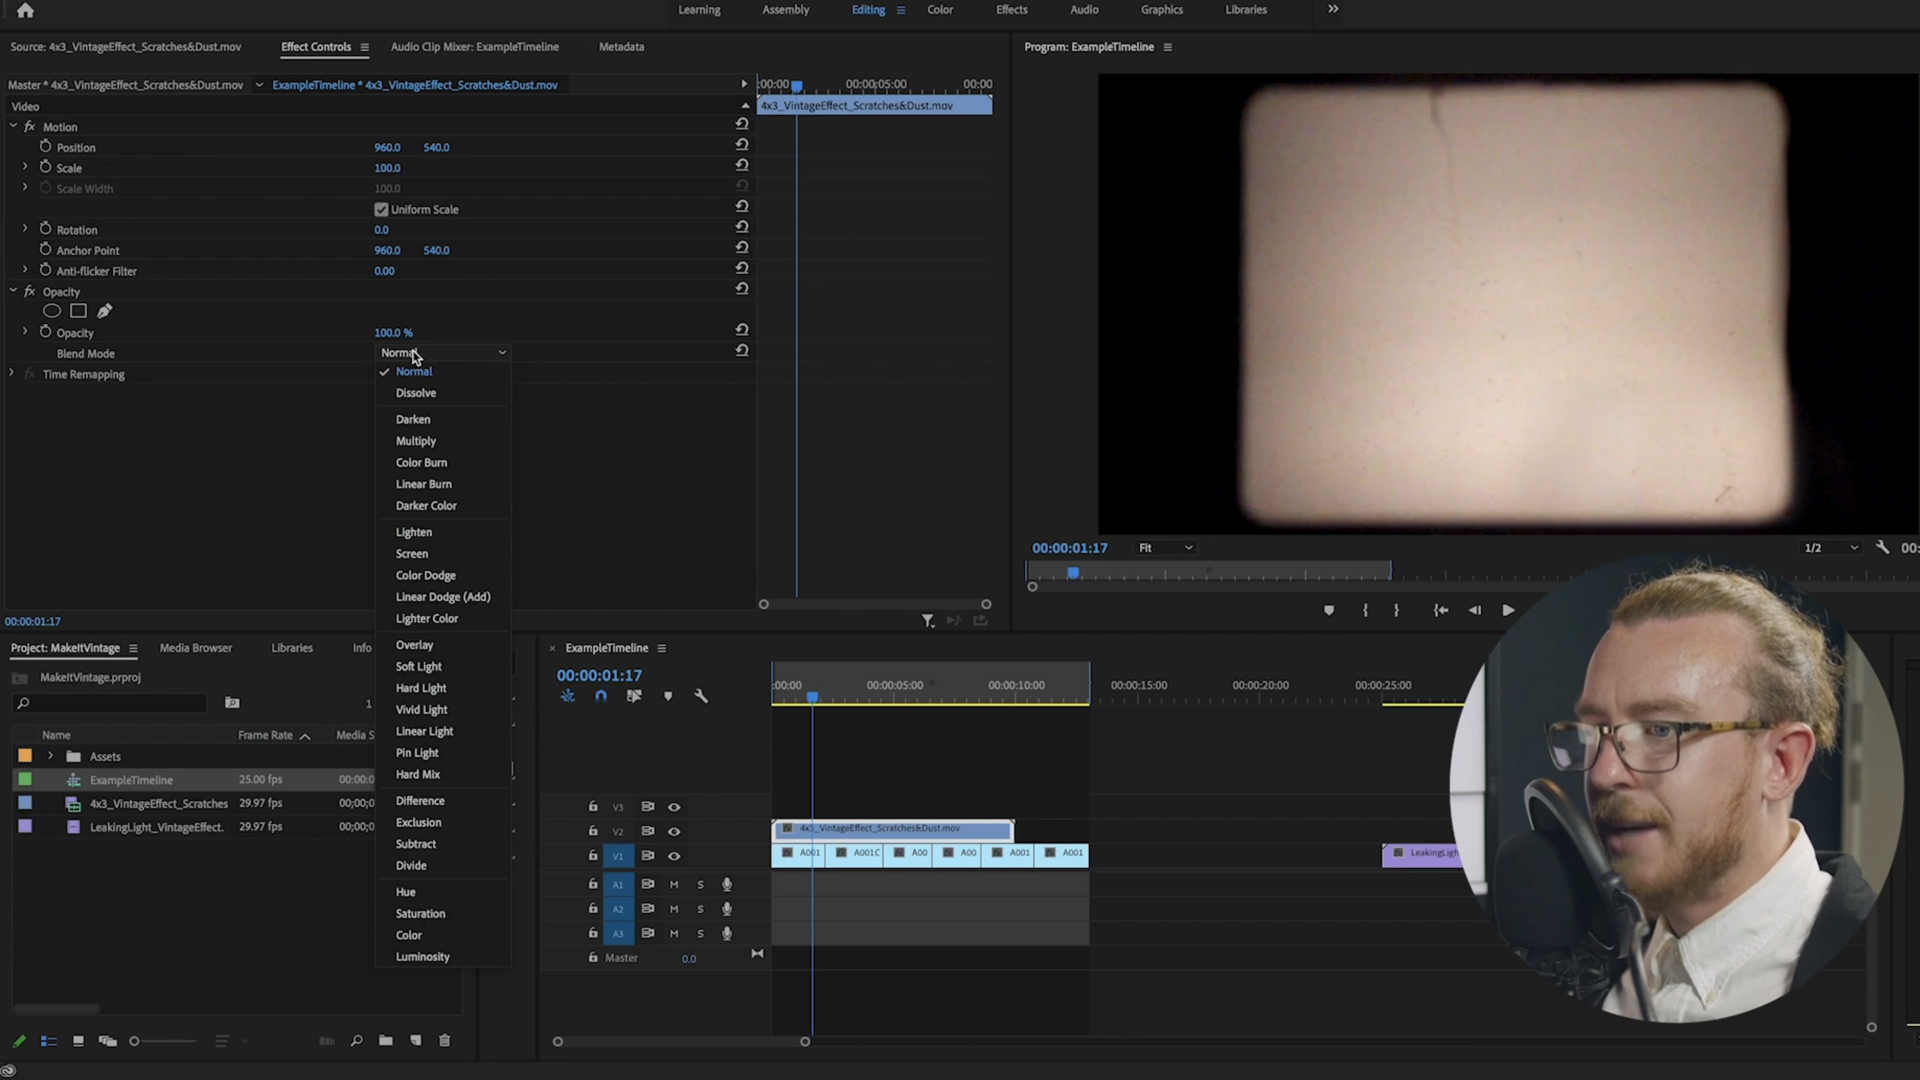
Another quick tip for achieving a cinematic look in Premiere Pro is adding some film grain. Digby Hogan talks about this process in another module where he demonstrates how to lend a vintage feel to your footage. And sure, you can also stylize the clip by adding flickering, light leaks, scratches, and camera artifacts, making it look more interesting and less polished (you may even want this old-school “home video” imperfect style). In my opinion, though, subtle film grain can’t hurt if you’re looking for an overall cinematic atmosphere.
Film grain is the random distribution of black and white particles on the surface of a film, dating back to the invention of film technology. Nowadays, we can add this effect digitally, and there are different ways to do it (like plugins). Digby Hogan uses a pre-made clip (in his case it has additional scratches and black bars for the 4:3 aspect ratio). Applying the preset to the footage, he sets its blending mode to “Dissolve” or “Overlay”:
Such grain effects are available online, and you can also find enough free options like this one, for example. Another way to achieve this look could be to use the built-in Premiere Pro Noise-effect with its different variations. For example, the Noise HLS Auto offers the suitable “Grain” type, and adjusting the “Noise phase” allows us to automatically animate grain to feel more authentic. You can also increase the lightness of the effect if you want it to be more visible.
Conclusion
Of course, these tricks are no substitute for professionally planned and filmed cinematic shots. But they demonstrate that you can still add some style to any material in post-production and significantly increase its effect. So, don’t give up on your cinematic goals, even if you have to deal with some poorly-shot footage. And if you want to discover more quick tips, check out the whole MZed-course “Learn Everything in Premiere Pro”.
How do you achieve a cinematic look in Premiere Pro? Any tips for the community that we haven’t covered above? Please share them in the comments section below.
What else do you get with MZed Pro?
As an MZed Pro member, you have access to over 300 hours of filmmaking education, including over 25 hours of “Learn Everything in Premiere Pro”. Plus, we’re constantly adding more courses (several are in production right now).
For just $30/month (billed annually at $349), here’s what you’ll get:
- 50+ courses, over 750+ high-quality lessons, spanning over 400 hours of learning.
- Highly produced courses from educators who have decades of experience and awards, including a Pulitzer Prize and an Academy Award.
- Unlimited access to stream all content during the 12 months.
- Offline download and viewing with the MZed iOS app.
- Discounts to ARRI Academy online courses, exclusively on MZed.
- Most of our courses provide an industry-recognized certificate upon completion.
- Purchasing the courses outright would cost over $8,500.
- Course topics include cinematography, directing, lighting, cameras and lenses, producing, indie filmmaking, writing, editing, color grading, audio, time-lapse, pitch decks, and more.
- 7-day money-back guarantee if you decide it’s not for you.
Full disclosure: MZed is owned by CineD
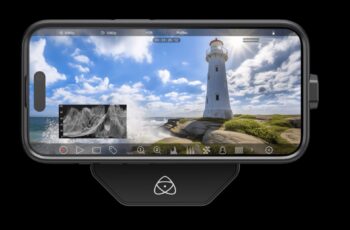
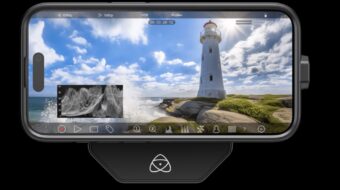
Feature image source: Digby Hogan / MZed.